These Sun-Cured Gel Nail Wraps Are Salon-Quality Without Any of the Damage

All products and services featured are independently chosen by editors. However, StyleCaster may receive a commission on orders placed through its retail links, and the retailer may receive certain auditable data for accounting purposes.
When it comes to my nails, I’ve always been a low-maintenance girly who loves an at-home manicure. And while I’ve amassed an impressive salon-worthy collection of polish, I haven’t quite dipped my toes (or my fingernails) in at-home gel manicure kits.
To be completely honest, I find them super intimidating, and all of the extra equipment required takes up a lot of space. So, when I saw that the Heyhae nail kits give you a professional-looking gel manicure (with super cute nail art, no less) without all of the hassle, I was quite intrigued.


Heyhae Nail Strips at a Glance
- Heyhae Hey, Feeling Lucky?, $13
- Heyhae Hey, Here Comes The Sun, $13
- Heyhae Hey, Sweet Treat, $13
- Heyhae Hey, Shining Just For Me, $13
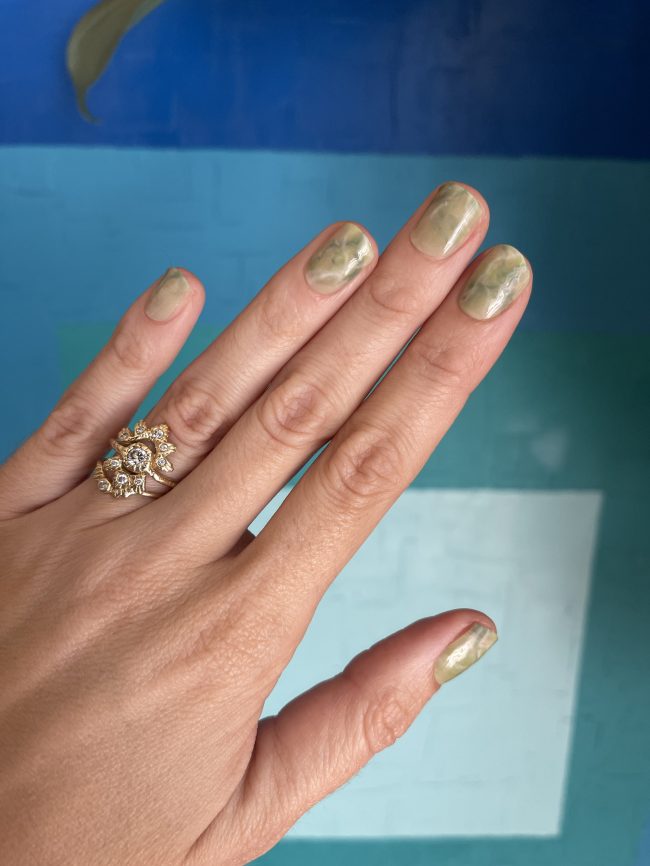
These nail strips are similar to nail polish stickers, except they’re made from 60% cured gel polish, which makes them thick and durable enough for long wear (plus, they hid some of the damage on my nails after removing a set of salon gel nails). The best part? You don’t have to deal with painting your nails with layers of polish or the time-consuming curing process. And, since they’re so easy to apply, you can even apply them on the go while traveling, which is perfect for summer.
What Comes Inside a Heyhae Nail Kit
Each Heyhae nail kit comes with everything you need to apply the nail strips. This includes 28 nail strips in various sizes, as well as a prep pad to cleanse your nails before application, a small nail file, and a wooden stick. In addition to these tools, you’ll also need a pair of small scissors (cuticle cutters also work great) to trim the strips down to size.
How to Apply Heyhae Nails
Applying the Heyhae nail strips is easier than painting your nails. First, ensure that any nail polish is removed and your nail beds are clean and dry. Then, reach for the included prep pad and swipe the surface of your nails to remove any excess oils and other debris that might interfere with the stickers. Next, place the sticker sheet over your nails to figure out which ones are the right size for your nail beds without actually removing the film and potentially ruining the stickiness.
When you know what strips you want to apply, peel the protective plastic layer back and align the nail strip over your nails. Repeat this step for all five fingers. With all the strips applied, use small scissors or cuticle cutters to cut back any excess. Before curing, use the flat end of the wooden stick to push everything into place and ensure everything is secured.
To cure the Heyhae nail strips, place your fingers under some sunlight for a few minutes. Since the strips are already 60% cured, they only need a few minutes under the sun’s UV rays to reach 100%. After everything is cured, take the nail file to touch up any areas that look jagged from trimming.
How to Remove Heyhae Nail Strips
When you’re ready to remove your at-home gel nails, use the Heyhae Got to Go Remover. Simply add a few drops to the base of the nail strips (around the cuticles) and let things soak for a few minutes so that it’s easier to lift away. Then, take the wooden stick and peel the sticker from the cuticle toward the tips of your fingernails. Once everything is removed, wash your hands and apply a hand cream or cuticle oil to give your nailbeds some extra R&R.
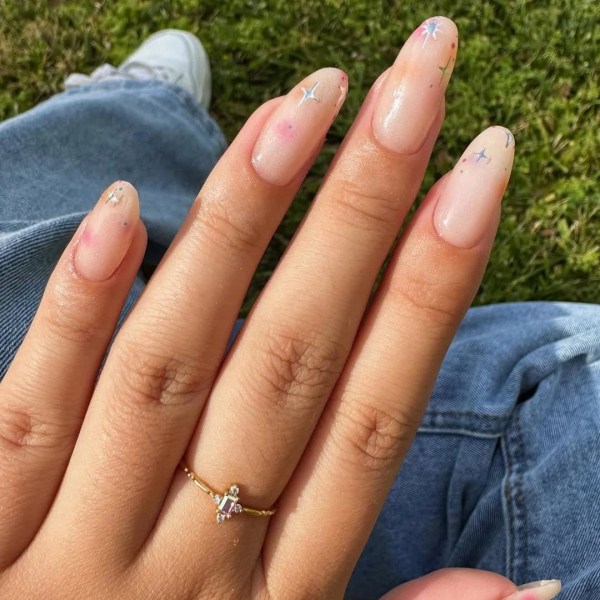
Ahead, find some of the cutest nail art designs for summer from Heyhae’s latest drop.